

03-10-2021


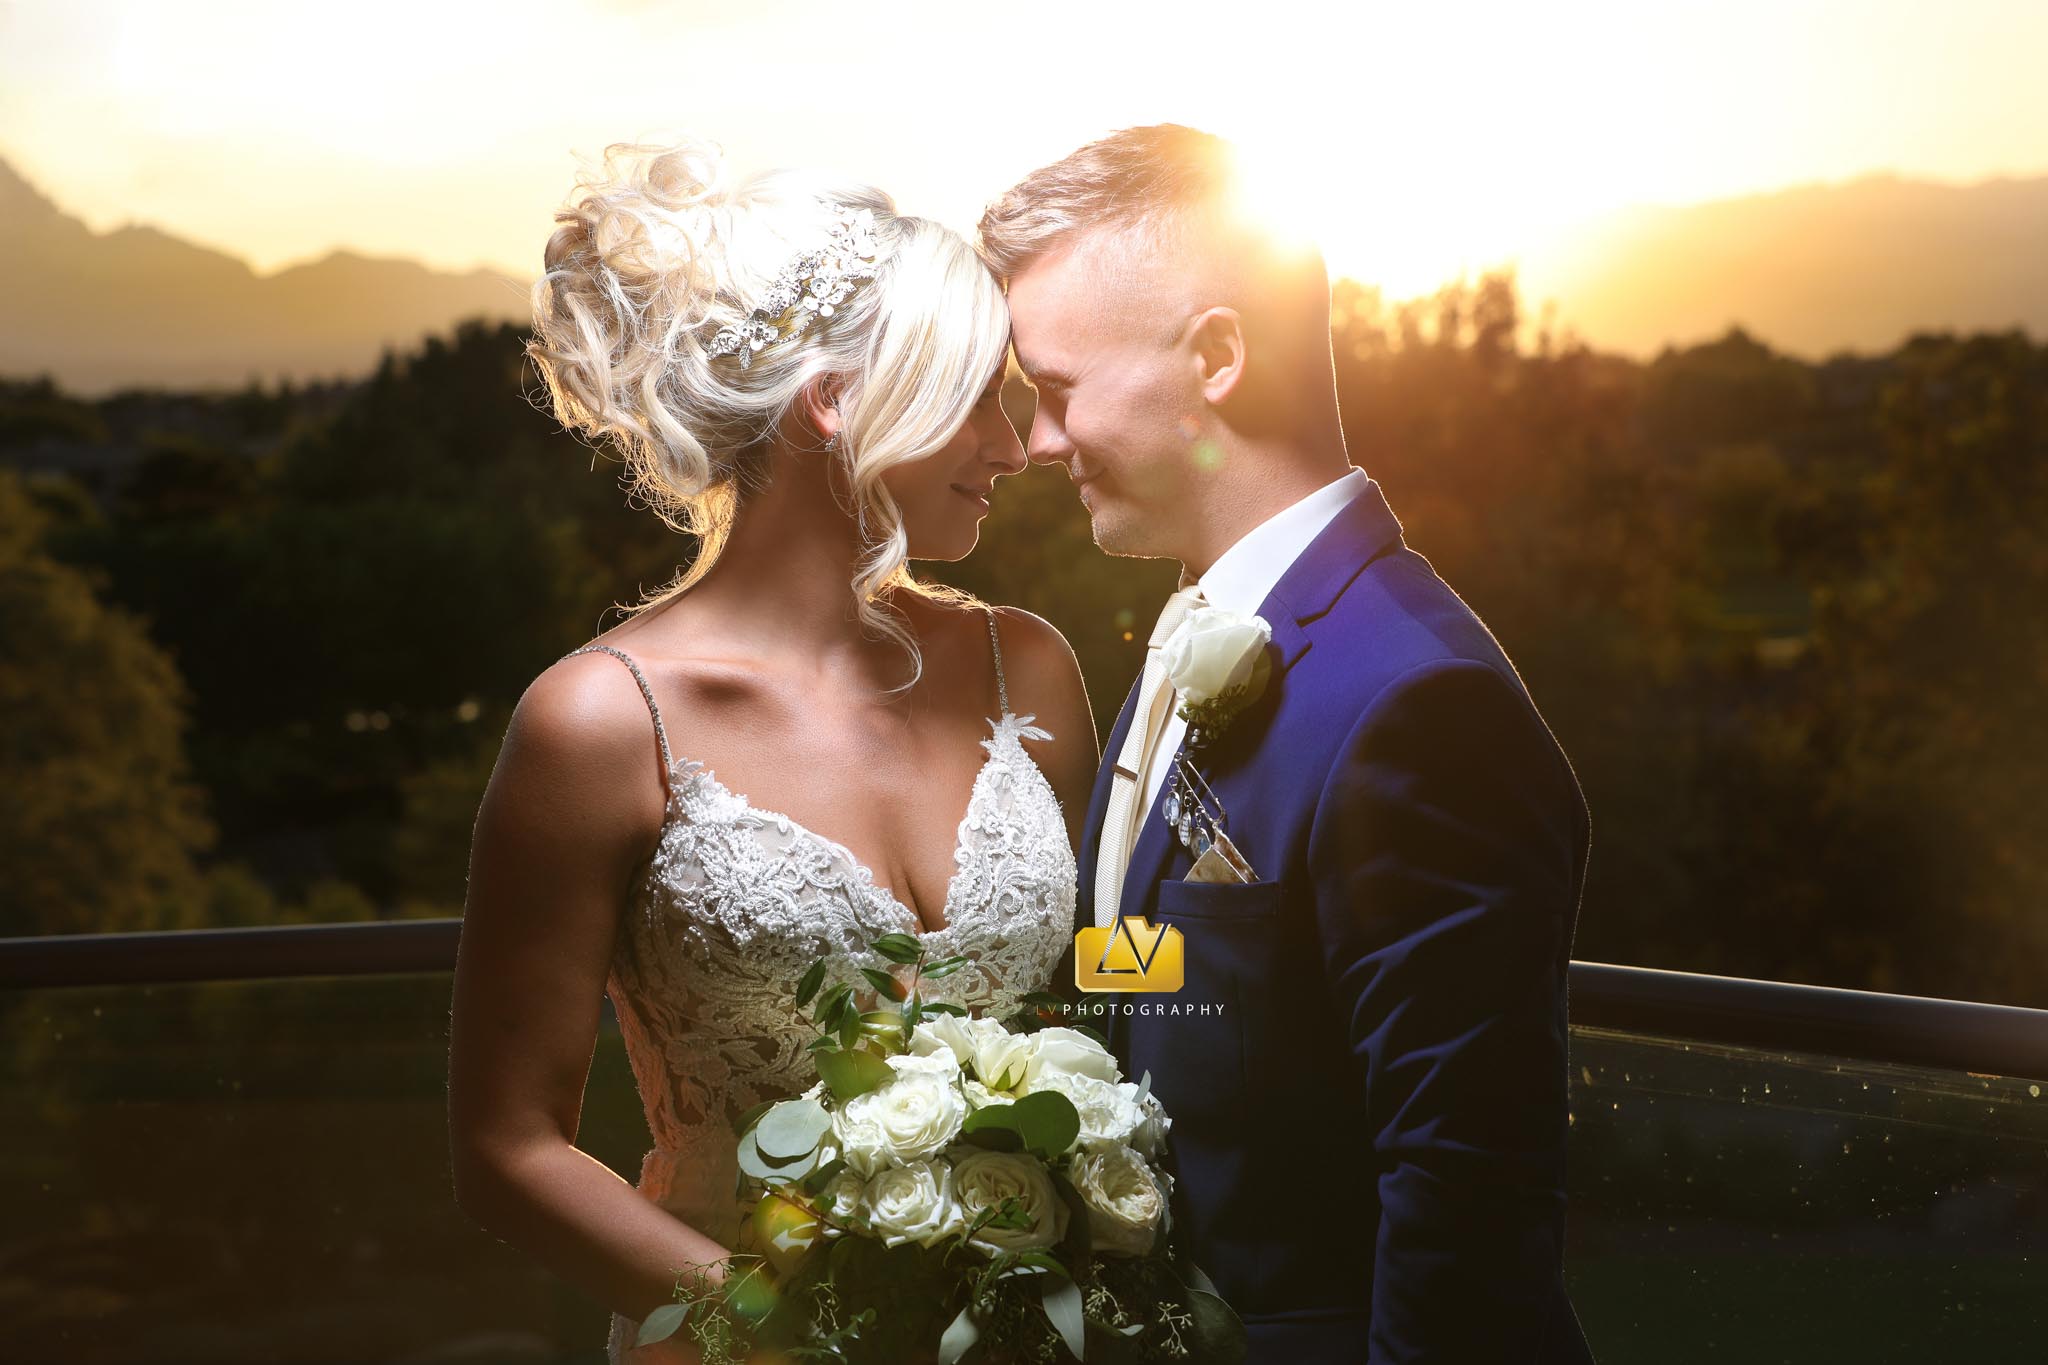
Wedding photography is one of the most important and most long-lasting elements of the big day. Therefore, couples should aim to get this part mostly right. One key part of getting the photos right is to understand and build a timeline that works. While each timeline is unique to the couple and their particular plans, discover a few steps to ensure that yours will make the most of your nuptials.
The good news about building a photography timeline is that you don't have to reinvent the wheel, as they say. Millions of happy couples and wedding photographers have already figured out the rough time frames needed for photo sessions. For instance, a few common needs for common shoots might include the following:
Couples may not be aware of how much time it takes to photograph the individual steps of the big day. But even though these are only rough guides, the more you understand what it takes, the more you can design a schedule to mesh with the rest of your plans.
After learning more about what's needed to get each set of shots, think about what's most important to you. Not every picture (or set of pictures) is equally important to every couple. By identifying your priorities and communicating these to the photographer, they can tailor sessions to your interests.
For instance, photos with your two grandmothers might be essential to you whereas gathering the entire extended family isn't a big priority. Similarly, if your attendants will all arrive already prepared, photos of people getting ready may only consist of the bride and groom.
After you decide which pictures are your must-haves, decide how you are willing to add or take away from the schedule to fit the actual wedding day. For instance, a couple who skips the first look could save a 1/2 hour. And reducing the number of group shots means less time on family pictures. On the other hand, if you have extra time during cocktail hour, the wedding party might take candid pictures in a nearby park.
Don't cut things yet, but do prepare backup plans. For instance, you might decide that if you have extra time, the wedding party will go to the park for fun shots. If time is limited, the pictures could be at a particular spot in the reception.
Armed with your research and an idea of what you value, meet with the photographer to draw up a more definitive timeline. They know from experience how much time they need to get particular shots, so use their expertise. Your goal should be to keep in mind your priority list so you can make the right compromises while not compromising on what matters.
Finally, don't forget the last aspect of ensuring a good photography timeline: letting others know the plan. Print and distribute the wedding day schedule with the photographer's estimates included. Make sure anyone who is included in photos knows where they need to be and when.
Ready to get started on your photography schedule? Begin by meeting with a high-quality photographer in your area. Las Vegas couples can rely on the experience of LV Photography for all their wedding day needs. Call today to make an appointment, and learn how we can help you create a lifetime of great memories on your big day.
Write A Comment